POV-Ray
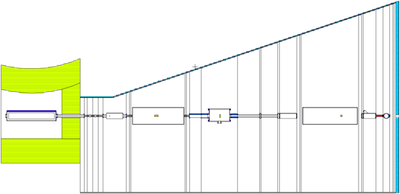
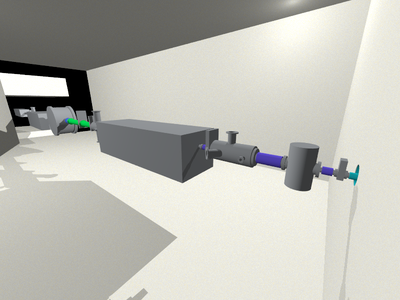
Let's render an image of the Balder beam line geometry:
At this point I assume that you have installed CombLayer and compiled the balder executable.
Export geometry into the POV-Ray format:
./balder -povray b
This creates a file b.x with geometry description in the POV-Ray format. The POV-Ray geometry description is quite similar to the one of FLUKA or MCNP: it consists of the Materials, Surfaces and Cells sections.
In order to render the scene we also need to define light source and camera. We will do it in a separate file which we will call balder.pov.
Notice that in the end of this file we include our geometry from b.x. This allows us to separate light and camera definitions from geometries.
Download balder.pov into the current folder and render geometry with POV-Ray:
povray balder.pov
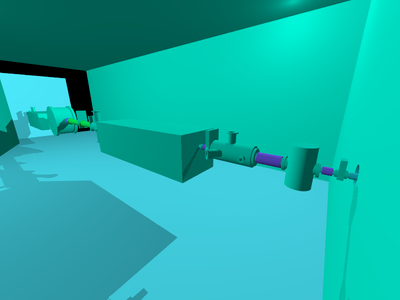
This should generate a PNG image, similar to this one:
Let's try to improve it. First, let's set different textures for the side wall and the green beam line components. Now they are of the same colour because they are made of the same material (Stainless steel 304). Let's change the wall material to Concrete, so it will have different texture:
./balder -v BalderOpticsSkinMat Concrete -povray b && povray balder.pov
(The pre-defined materials are listed in System/monte/DBMaterialRegister.cxx)
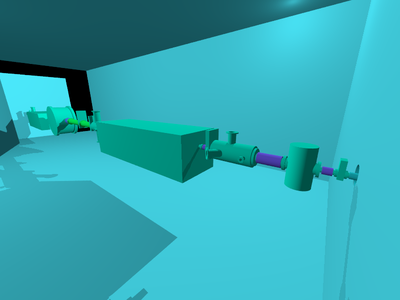
Now the image is more contrast:
However, this bluish concrete still does not look like real concrete. This is due to the way CombLayer maps colours to materials: it does not know how particular material looks in reality.
CombLayer provides a way to redefine the material textures manually. In the beginning of b.x there are material texture definitions as automatically defined by CombLayer, but right after these definitions the materials.inc file is included:
#if (file_exists("materials.inc"))
#include "materials.inc"
#end
This file is the place where we can redefine textures. Create a file materials.inc with the following content and place it in the same folder where you run POV-Ray:
#include "stones1.inc"
#include "metals.inc"

#declare matConcrete = texture { T_Grnt1 };
#declare matStainless304 = texture { pigment {P_Chrome2 } };
#declare matSilicon300K = texture { pigment {color rgb <0.40, 0.20, 0.15>} };
Generate the scene again:
povray balder.pov
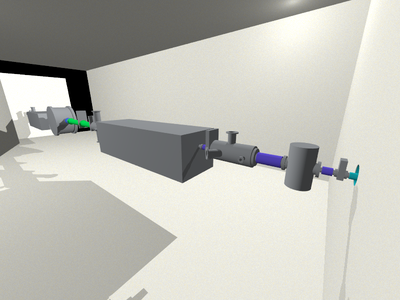
And now the geometry looks better:
Now let's remove the front end wall in order to be able to see the beam line components in the front end section. We do not do it by changing geometry, but just by setting the corresponding material to void:
./balder -v BalderOpticsSkinMat Concrete -v BalderFrontEndWallMat Void -povray b && povray balder.pov
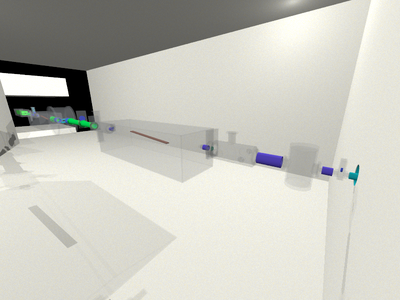
Now let's try to change transparency of the steel elements of the beam line in order to see what's inside. To do it, add the transmit keyword to the Stainless304 texture definition in materials.inc:
#declare matStainless304 = texture { pigment {P_Chrome2 transmit 0.9} };
Now let's make an animation!
Save these two files in the current folder: balder-animation.pov, animation.ini and run:
povray +W400 +H300 animation.ini
where +W400 and +H300 reduce the image dimensions in order to increase rendering speed.
The PNG files produced can be converted into a GIF animation:
convert balder-animation*.png balder.gif
or a video file:
ffmpeg -framerate 24 -i balder-animation%03d.png -c:v libx264 -vf "fps=25,format=yuv420p" balder.mp4
POV-Ray allows much more options to render geometry and skillful hands can make the scenes look pretty realistic (like the ones shown in this gallery), but these details are beyond the scope of this tutorial.
